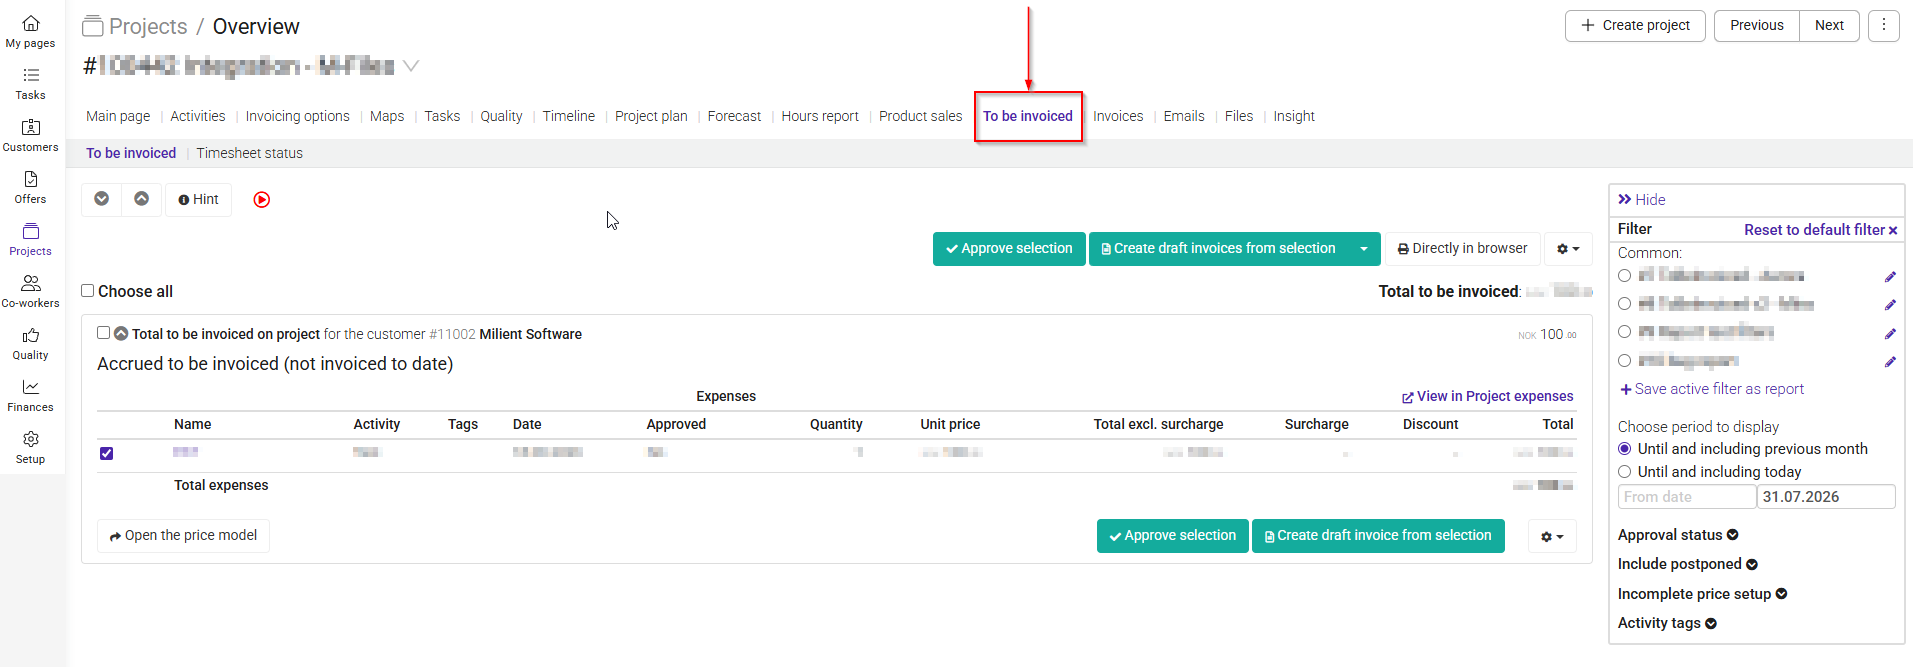
The To Be Invoiced page provides an overview of all hours, expenses, fees, and planned payments that are ready for invoicing. From this page, you can review invoiceable items, approve them, create draft invoices, and make any necessary adjustments before invoicing.
- The Estimated total fee for the project.
- The amount that has already been invoiced to date.
- The value that is ready to be invoiced.
- The remaining amount that has not yet been invoiced.
- The employee who registered the hours.
- The activity the hours were registered on.
- The reporting period.
- The total number of approved hours.
- The hourly rate used for estimation.
- The estimated value of the registered hours.
After selecting the items you want to invoice, you can either:
- Click Approve selection to approve the selected items for invoicing.
- Click Create draft invoice from selection to create a draft invoice that can be reviewed before sending it to the customer.
Additional actions
Click the gear icon to access more options for the selected items:
- Postpone invoicing of selected hours/expenses/fees
Moves the selected items to a future invoicing period. - Set selected hours/expenses/subscriptions as non-billable
Marks the selected items as non-billable, so they will not be invoiced to the customer. - Set selected lines as already invoiced
Marks the selected items as already invoiced. Use this if the invoice was created outside the system. - Update 'To be invoiced'
Refreshes the page and updates the invoicing basis with the latest project information.
Under the Invoices tab, you can find all invoice drafts and invoices.
On this page, you can view customer information, review invoice lines, and preview the invoice as a PDF.
To make changes to the invoice, click "Edit" in the top-right corner. You can add new invoice lines or update existing ones.
If changes have been made to the invoice, either on this page or elsewhere in the system, click "Refresh draft" to update the invoice draft with the latest information.
The "Change log and sending history" section shows all updates that have been made to the invoice, including when the changes were made and who made them.
When the invoice is ready, click "Finalize and send" to continue.
A new window will open where you can choose how to send the invoice. You can send it through EHF or email, provided that the required settings for the selected delivery method have been configured.
To complete the process, click "Send invoice".
If you want to finalize the invoice without sending it, clear the "Send invoice" option. This allows you to finalize the invoice only.
Once the invoice has been finalized and sent, the system automatically assigns an invoice number.
When you click +Create Expense a new window appears. In this window, you can:
- Select the relevant Activity.
- Enter a Title for the expense.
- Choose the Registration Date.
- Select the Currency.
- Enter the Quantity.
- Specify the Unit Price (excluding VAT).
- Review the Total Amount (excluding VAT).
- Mark the expense as Billable or Non-billable.
- Indicate whether the expense is Included in the total price.
- Add additional information using + Add field if needed.
- Upload supporting documents under Attachments.
- Click Save to register the expense or Cancel to discard the changes.
After saving the expense, you can make changes to it by clicking the pencil icon to open the edit view.
Was this article helpful?
That’s Great!
Thank you for your feedback
Sorry! We couldn't be helpful
Thank you for your feedback
Feedback sent
We appreciate your effort and will try to fix the article