Find Activities by opening a project and selecting the Activities page.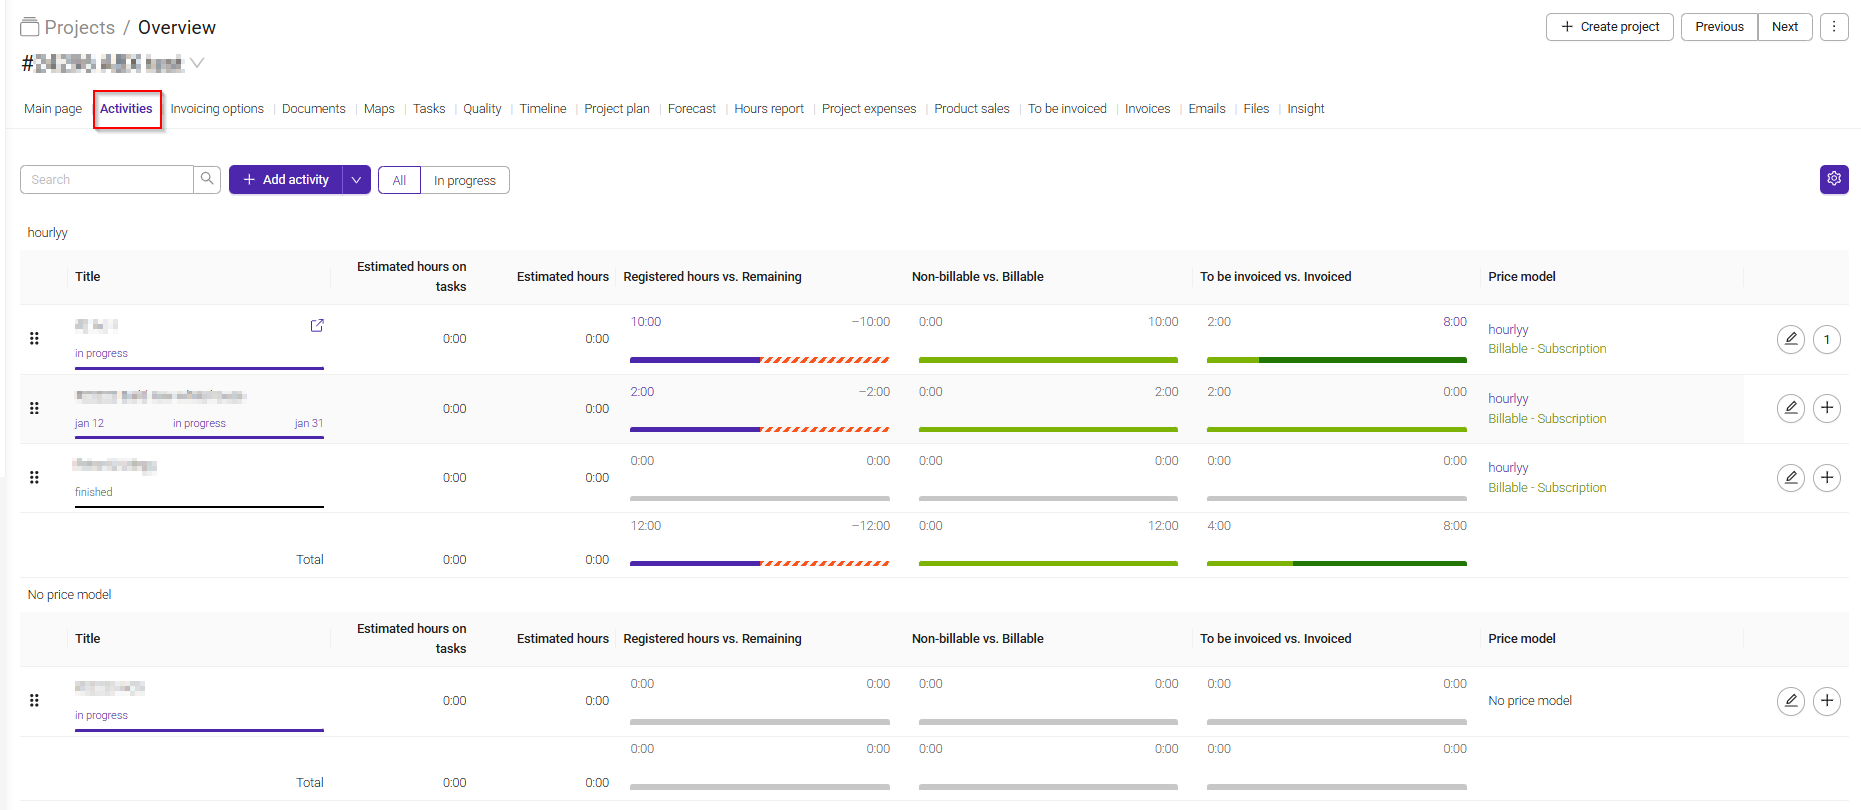
Activities are the building blocks of a project. They help you organize your project into manageable parts, track work accurately, and connect project work to billing and planning.
You must have at least one activity, but you may create as many activities as needed. Every hour registered to a project must be linked to an activity.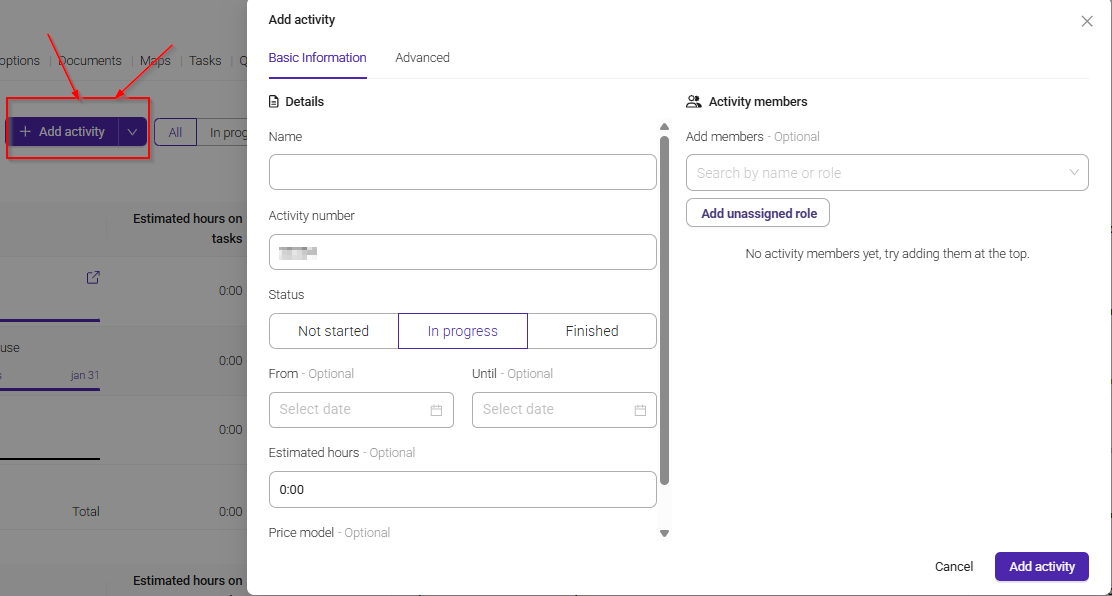
Click "+ Add Activity" to create a new activity and a new window will appear.
Enter the activity name, an optional start date or chose to add estimated hours.
You can also add the members who will be working on this activity.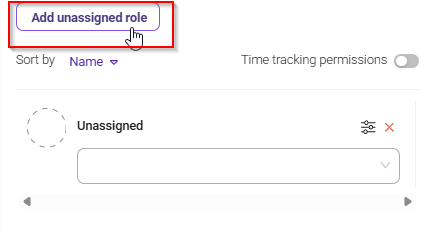
The "Add Unassigned Role" option allows you to add a role that has not yet been assigned to a specific employee.
This allows you to add a role that you know will be involved in the project but has not yet been assigned to a specific employee. The role can easily be assigned to a team member later.
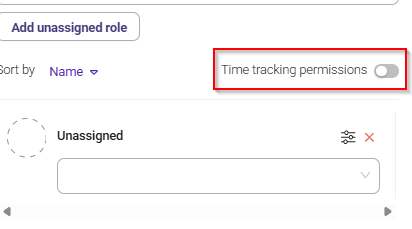
Enable "Time Tracking Permissions" to specify which members are allowed to log time on the activity.
When you have finished, click "Add Activity".
All the activities in the project are displayed in a single list.
If activities are linked to price models, they will be grouped accordingly.
In the overview, you can see:
- Title – The name of the activity and its current status.
- Estimated hours on tasks – The total estimated hours assigned to tasks within the activity.
- Estimated hours – The total estimated hours for the activity.
- Hours worked vs. Remaining – A comparison of registered hours versus the hours still remaining.
- Non-billable vs. Billable – The distribution of non-billable and billable hours.
- To be invoiced vs. Invoiced – Hours that are ready for invoicing compared to hours that have already been invoiced.
- Price model – The pricing model assigned to the activity, such as Fixed Price or Hourly Rate.
- Billable hours – The total number of billable hours registered on the activity.
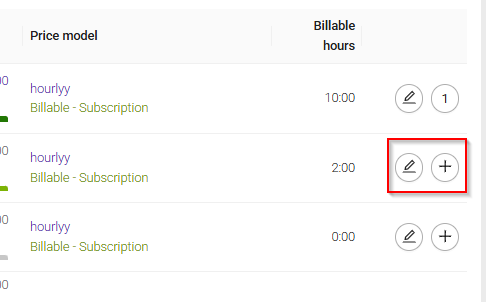
- Edit Activity (pencil icon) – Opens the activity settings for editing.
- Add Task (plus icon) – Creates a new task within the activity.
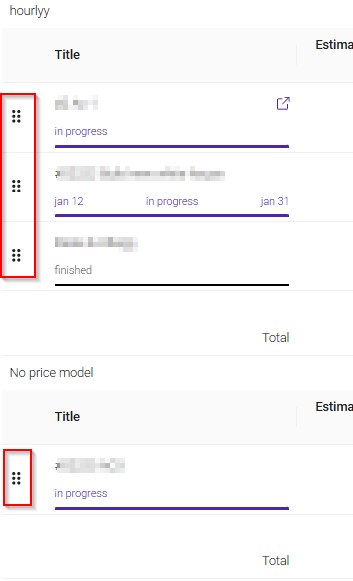
Activities can be reordered by dragging and dropping them using the six-dot handle on the left side of each activity.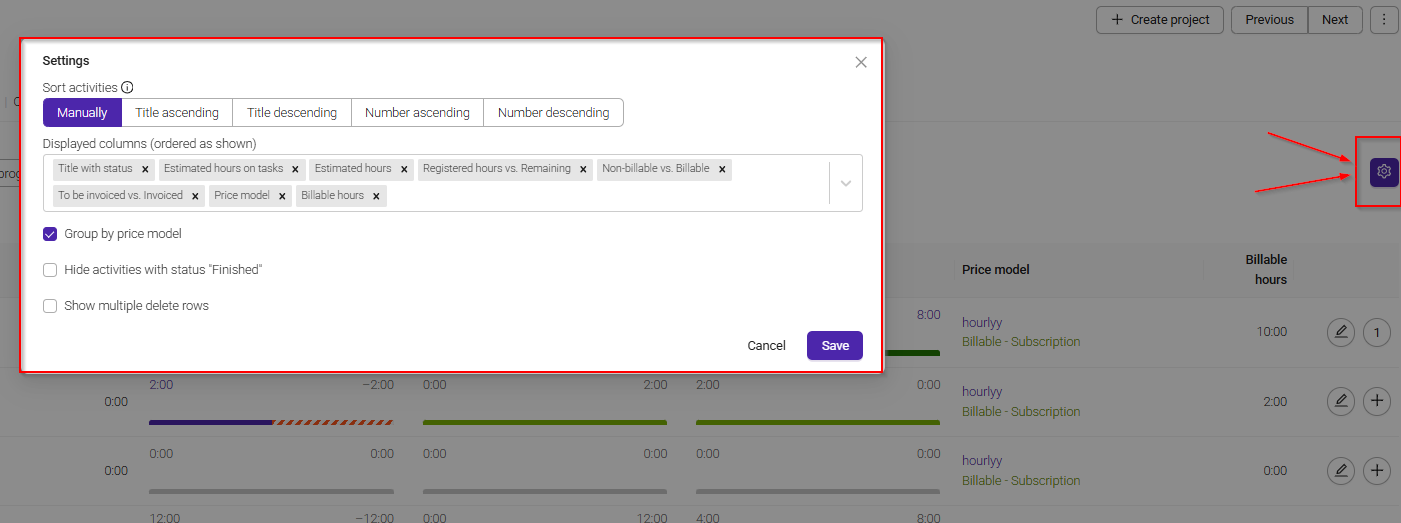
Click the Settings (gear) icon on the right to access additional options for organizing and customizing the activity overview.
The following options are available:
- Manually – Arrange activities by dragging and dropping them into the desired order.
- Title ascending – Sort activities alphabetically in ascending order.
- Title descending – Sort activities alphabetically in descending order.
- Number ascending – Sort activities by activity number, from lowest to highest.
- Number descending – Sort activities by activity number, from highest to lowest.
Displayed columns (ordered as shown) – Select which columns should be visible in the overview and arrange them in the preferred order.
Group by price model – Group activities based on their assigned price model, such as Fixed Price or Hourly Rate.
Hide activities with status "Finished" – Exclude completed activities from the overview to keep the list focused on active work.
Show multiple delete rows – Enable the option to select and delete multiple activities at the same time.
Once you have made your changes, click Save to apply them.
Was this article helpful?
That’s Great!
Thank you for your feedback
Sorry! We couldn't be helpful
Thank you for your feedback
Feedback sent
We appreciate your effort and will try to fix the article